Onboarding or Deleting
F5 Big-IP VPN
- Connect to [[../../All Company/F5 VPN|F5 VPN]]
Web Application
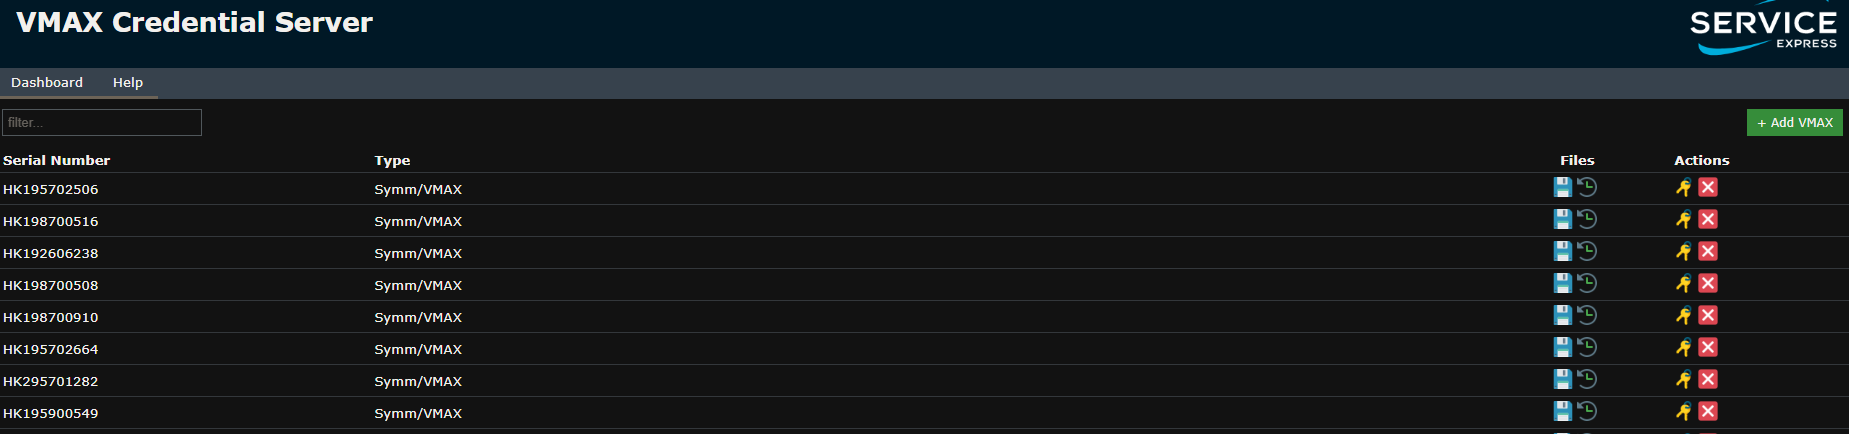
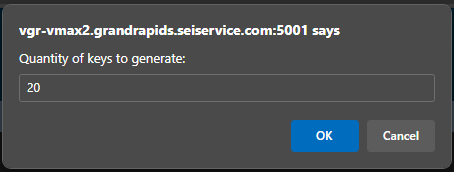
Click on the key symbol to generate a range of keys, the web application will ask you how many keys you require. (Ensure pop-ups are not blocked)
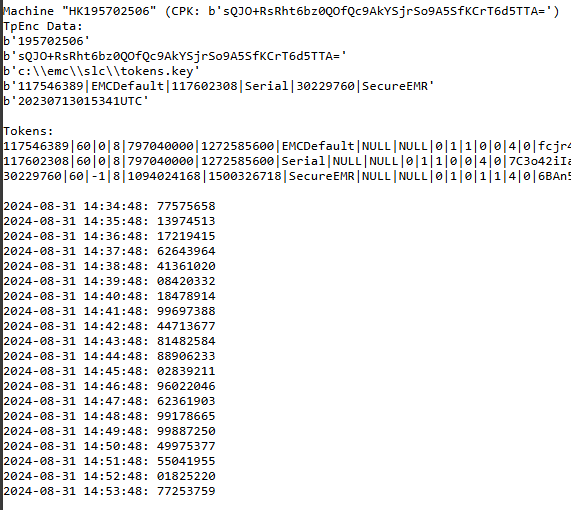
Generated keys
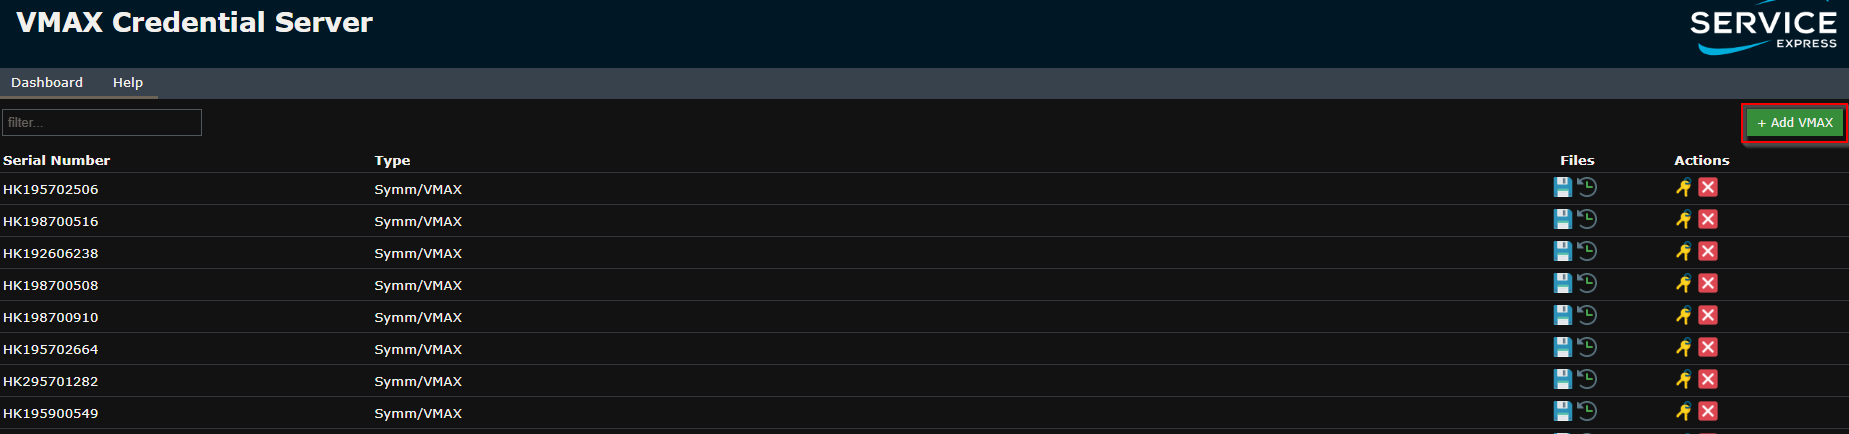
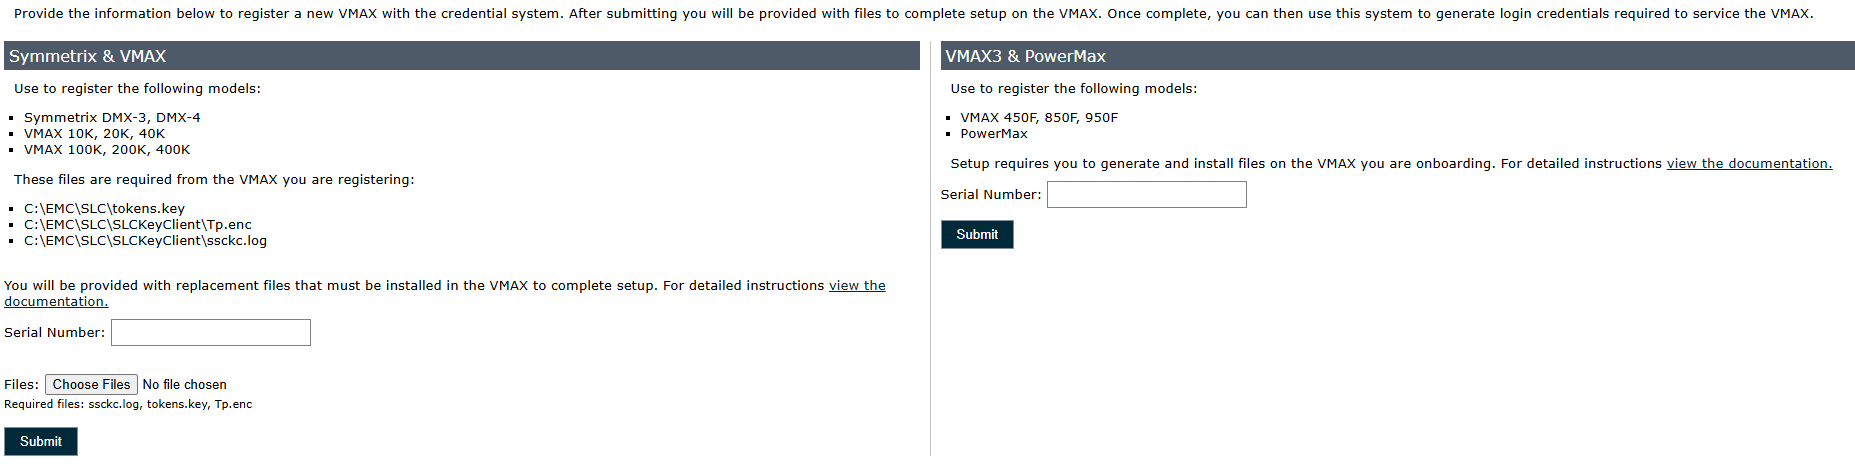
When onboarding a new VMAX, simply select + Add VMAX and be mindful of the distinction between VMAX3 / Powermax and older generations
VMAX3 Token Installation
- Log into the MMCS
- user: MMCS / pass: Admin4MMCS
- Connect the provided USB-GigE adapter into the USB extension cable coming from the back of the machine to above the KVM
- Set the newly created network adapter to an IP address of 192.168.148.14/24
- Install tightvnc onto the MMCS, as well as the FE's laptop (if needed)
- password for tightvnc server on the VMAX should be set to symmcare
- Establish a network connection from the FE's laptop to the VMAX
- Set laptop IP address to 192.168.148.1/24 or something similar within range
- Connect FE laptop via RJ45 cable to the newly installed network adapter on the VMAX
- Create the directory C:\EMC\SE
- Inside of the newly created directory copy the archive Vmax3_ClientProvision-v1.0.0.zip and the token previously created (from above)
- Extract the contents of the .zip file and from a command prompt started as administrator, navigate to C:\EMC\SE and run the .exe file
- Tokens have now been cleaned up and are added to the system
VMAX2 Token Installation
- Log into the Service Processor (SP)
- Username: admin
- Password: EMC2Admin
- Insert a USB drive into the SP, collect the following files
- C:\EMC\SLC\tokens.key
- C:\EMC\SLC\SLCKeyClient\Tp.enc
- C:\EMC\SLC\SLCKeyClient\ssckc.log
-
Record the serial number
- Serial number is located on a product serial tag on the front of the machine
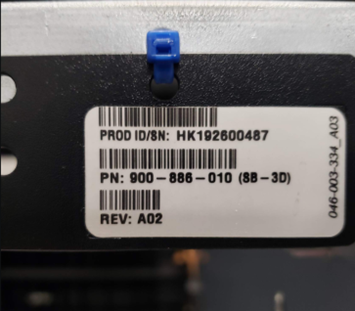
- Serial number is located on a product serial tag on the front of the machine
-
Access Service Express VMAX Credential Server - VMAX Credential Server
- Follow steps above for onboarding a new VMAX
- Download the generated files
- Backup original files from step 2.
- Place files back onto the SP in the original folders they were found in step 2.